Instructions for Windows
To establish a VPN access on your Windows device, please follow these instructions.
Configuration
The VPN client can be installed under Windows using an automatic web installation or manually. You can first try the web installation. If this fails, please use the manual installation instructions.
First download the AnyConnect client from our Downloadseite , save the file on your computer and unzip it. Change to the folder where you extracted the archive and start the file setup.exe with a double click. Confirm the security warning by clicking Yes .
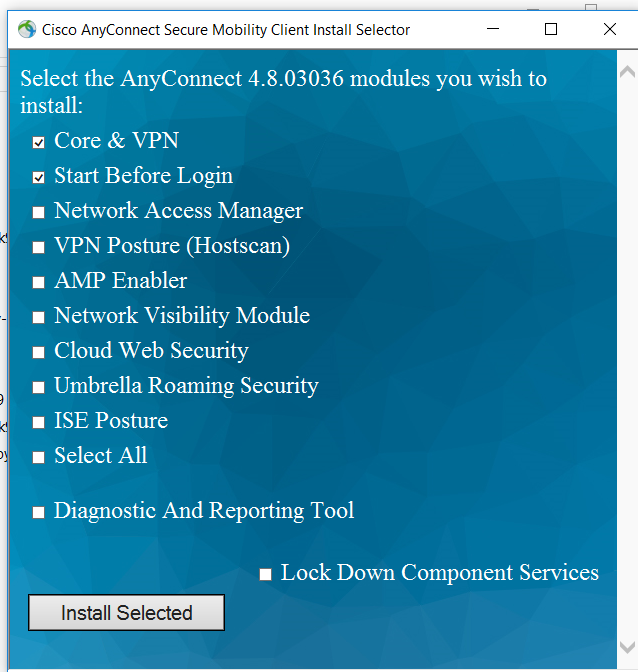
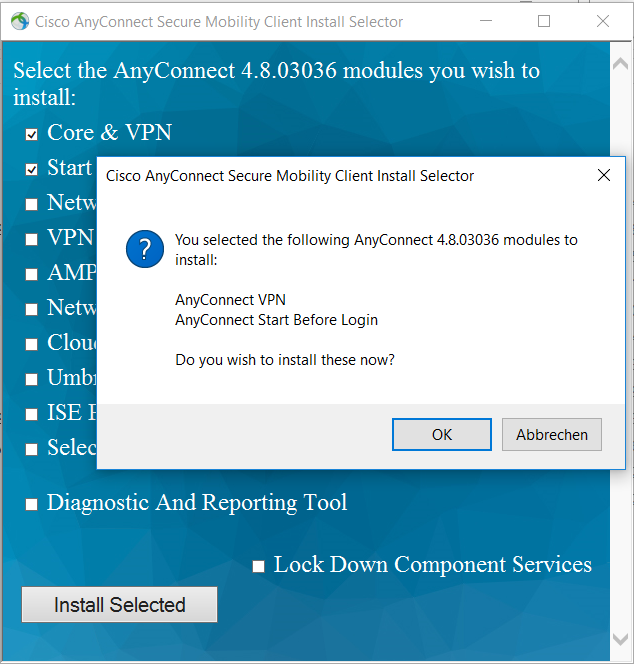
The installation wizard is displayed and allows you to select the components to be installed. Please select only the components Core & VPN and Start Before Login . Then click on Install selected .
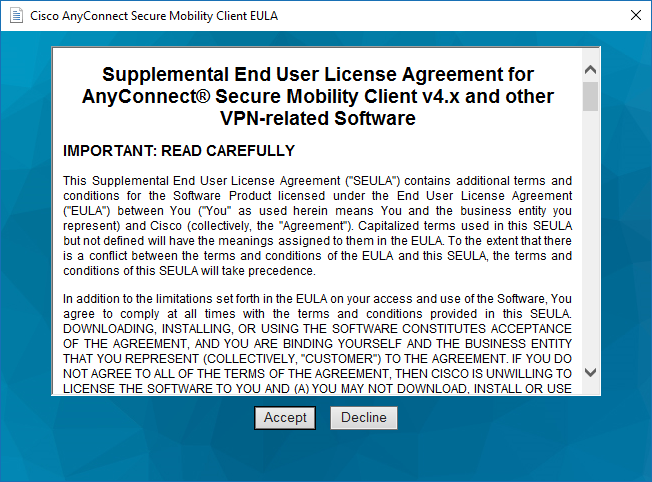
Now confirm the license agreement and click Accept again.
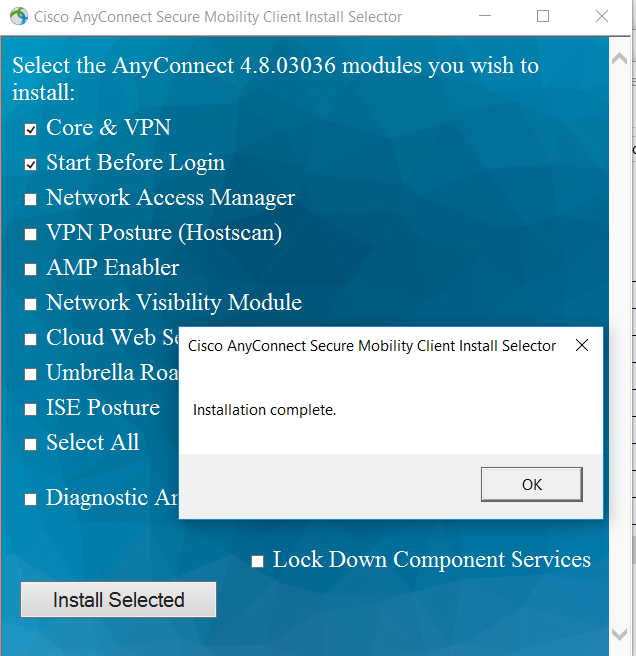
The installation is now complete.
To establish a VPN connection after successfully installing the Cisco AnyConnect Client, proceed as follows:
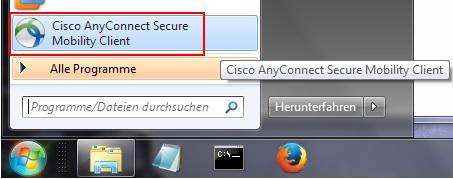
Open the Cisco AnyConnect Client (Start → Cisco AnyConnect Client)
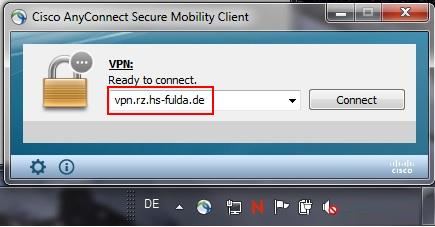
Enter the address of the VPN server ( vpn.rz.hs-fulda.de ) in the window that is now displayed and then click Connect .
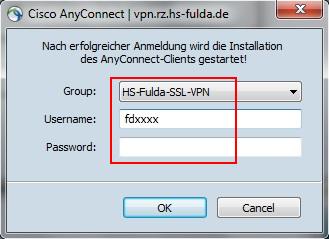
In the following window, enter your access data (fd number and associated password) and select the group HS-Fulda-SSL-VPN . Then click OK to establish the VPN connection.
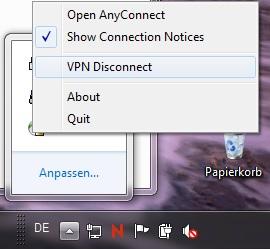
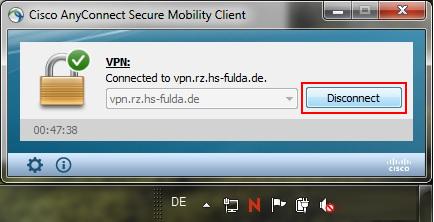
After a successful connection establishment, this is displayed in the AnyConnect Client window. You can also see the AnyConnect symbol in the task bar.
You can now close the AnyConnect window. The connection to the VPN remains until you end it manually.
